Get Started with Claude Code
A step-by-step guide for Mac and Windows. No coding experience required. You will be running in under 10 minutes.
Claude Code is an AI that lives on your computer
It runs in your Terminal (Mac) or PowerShell (Windows). It reads, writes, and manages files directly on your machine. It connects to your business tools. It remembers your business across sessions.
Prerequisites
You need two things before installing Claude Code.
Claude Account
A paid Claude plan. Sign up at claude.ai
GitHub Account
Free account at github.com. Needed for plugin installation.
Installation
Select your operating system and follow the steps.
Download the Claude Desktop App
Go to claude.ai/download and download the app for your Mac or Windows computer.
Open the app and sign in with your Claude account (Pro or Max plan required).
Install GitHub CLI (one-time terminal step)
You need this for plugin access. Open Terminal (Mac) or PowerShell (Windows) and follow the steps for your operating system below.
If you are on a Mac:
In your new Terminal window, run:
gh command will not be recognized until you restart.In your new Terminal window, run:
Select: GitHub.com > HTTPS > Login with a web browser. Follow the prompts.
If you are on Windows:
gh command will not be recognized until you do this.In your new PowerShell window, run:
Select: GitHub.com > HTTPS > Login with a web browser. Follow the prompts.
Open the Code tab and select a folder
In the Claude Desktop App, click "Code" at the top (next to Chat and Cowork).
Click "Select a folder" and create a new folder called Command Center in your Documents. Select it.
This is where all your Command Center files will live.
Install Command Center plugin
In the Code tab chat input, type:
Wait for it to sync. Then type:
Start Command Center
Type in the Code tab:
The system will walk you through everything from here.
Open Terminal
Open Finder (the smiling face in your Dock). Go to Applications > Utilities > Terminal. Double-click to open it.
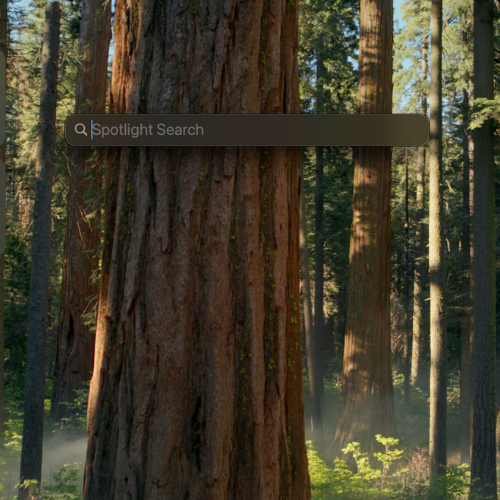
Press Command + Spacebar to open Spotlight
Install Homebrew (package manager)
Paste this into Terminal and press Enter. It will ask for your Mac password (the one you use to log in to your computer).
After it finishes, it will show "Next steps" with commands to add Homebrew to your PATH. Run each of those commands one at a time.
Install GitHub CLI
Log in to GitHub
Select: GitHub.com > HTTPS > Login with a web browser. It will open your browser. Log in and enter the code shown in Terminal.
Install Claude Code
If it says ~/.local/bin is not in your PATH, run the command it shows you, then close and reopen Terminal.
Install the Command Center plugin
claude plugin install command-center
Create your workspace folder
This is where all your Command Center files will live.
Install Git for Windows
Download from git-scm.com/downloads/win. Run the installer with default settings. This is required before Claude Code will work.
Open PowerShell
Press Windows key. Type PowerShell. Click "Run as administrator".
Install GitHub CLI
Close and reopen PowerShell after this installs.
Log in to GitHub
Select: GitHub.com > HTTPS > Login with a web browser. It will open your browser. Log in and enter the code shown in PowerShell.
Install Claude Code
Close and reopen PowerShell after installation.
Install the Command Center plugin
claude plugin install command-center
Create your workspace folder
This is where all your Command Center files will live.
Starting Claude Code
Installation is done. Here is how you start Claude Code every time.
Open the Claude Desktop App
Launch the Claude app from your Applications (Mac) or Start Menu (Windows).
Click the Code tab
At the top of the app, click "Code" (next to Chat and Cowork).
Select your Command Center folder
Click "Select a folder" and choose the Command Center folder you created in Documents.
Run Command Center
Type /command-center in the chat input and press Enter.
Open Finder
Click the Finder icon in your Dock (the smiling face at the bottom of your screen).
Go to your folder
In the sidebar, click Documents. Find the folder called my-command-center
Open Terminal here
Right-click (or Control-click) the folder. Scroll down the menu and look for "New Terminal at Folder" near the bottom.
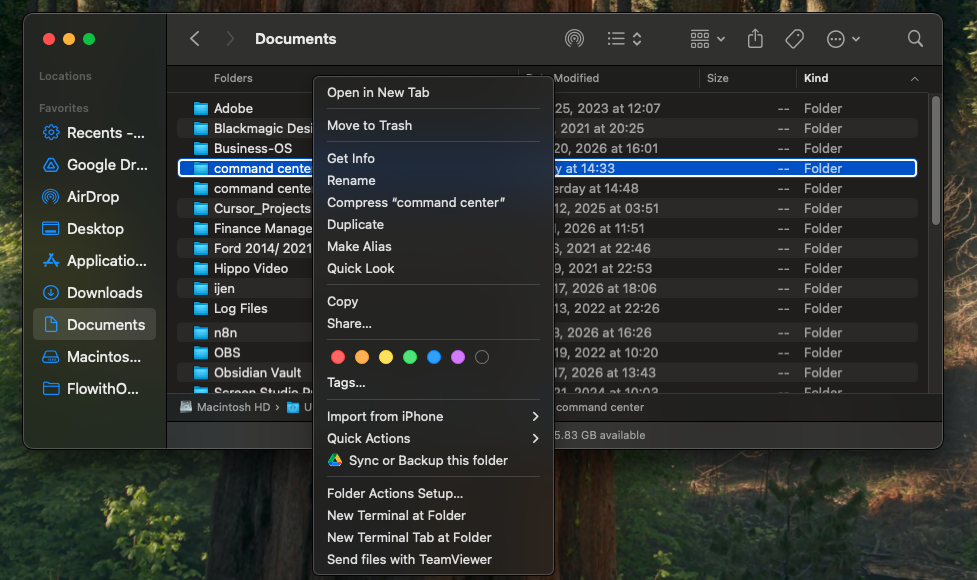
Right-click your folder and select "New Terminal at Folder"
Start Claude Code
Type claude and press Enter. You are now inside Claude Code.
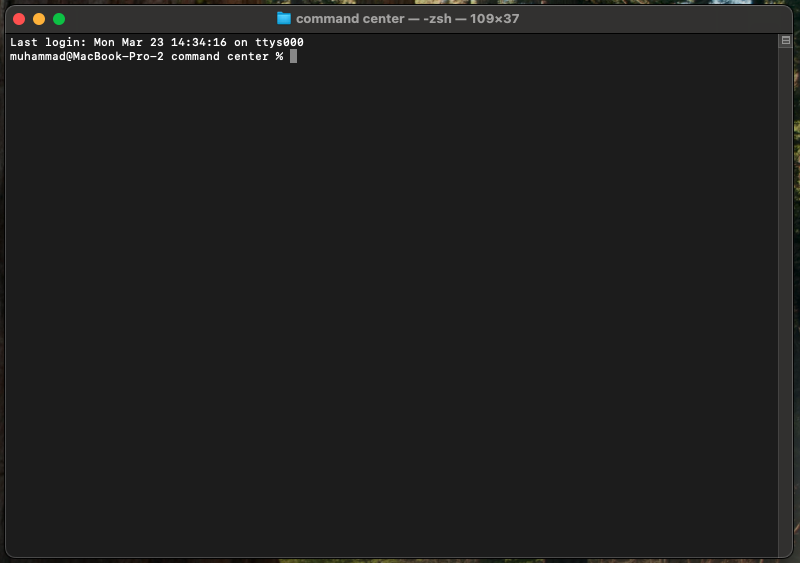
Terminal opens in your folder. Type "claude" and press Enter.
Run your first command
Type /command-center and press Enter. This starts the guided setup.
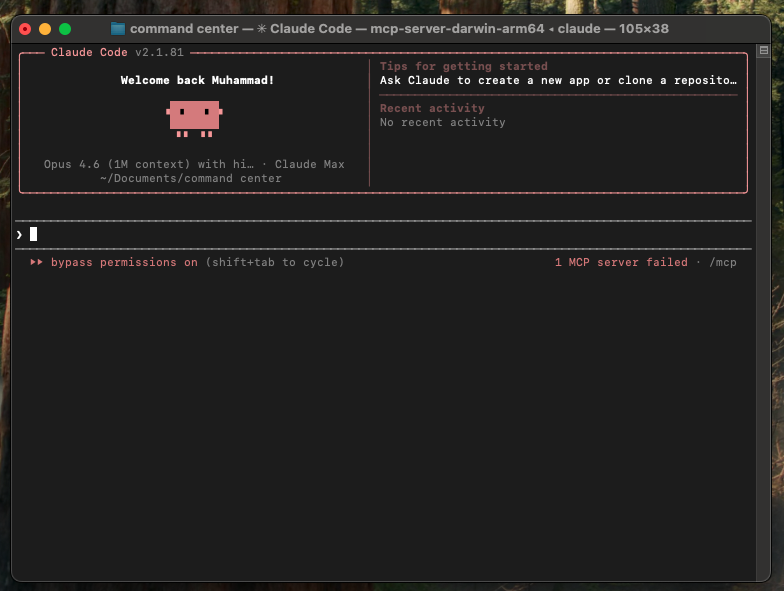
Claude Code welcome screen with the pig avatar
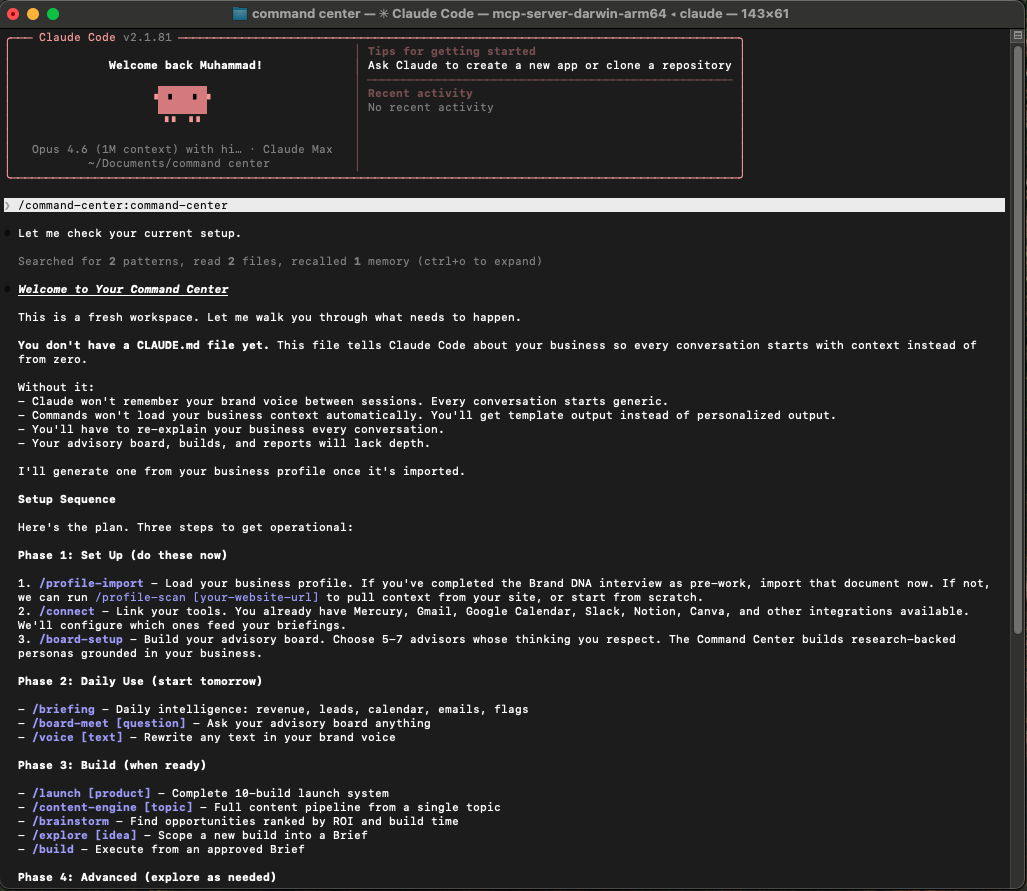
/command-center shows your setup phases and all available commands
Open File Explorer
Press Windows key + E to open File Explorer.
Go to your folder
Navigate to Documents > my-command-center
Open PowerShell here
Click in the address bar at the top. Type powershell and press Enter. PowerShell opens in your folder.
Start Claude Code
Type claude and press Enter. You are now inside Claude Code.
Run your first command
Type /command-center and press Enter. This starts the guided setup.
Your Key Commands
Type these inside Claude Code. Start with /briefing every morning.
/briefing in action:

The briefing command pulls live data from your connected tools

Revenue, calendar, new subscribers, and actionable email summaries